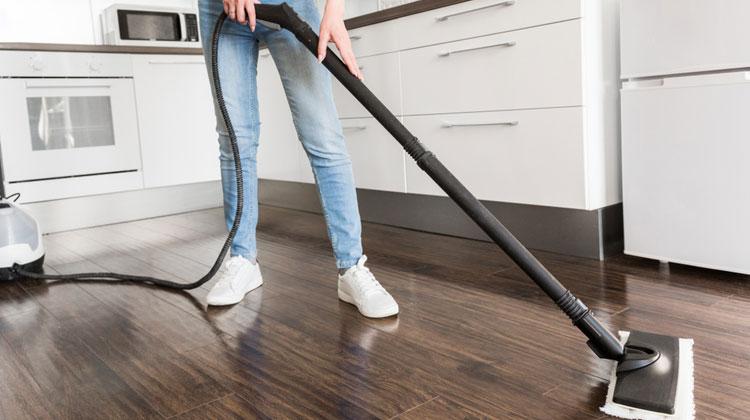
The invention of steam mop has definitely changed the cleaning game on another level. No need to scrub and wipe, it takes care of everything while you stand holding the handle.
However, still a question remains in lots of minds, how is it going to work on different surfaces?
Pretty rational concern we will say. To get to the answer, you’re required to have an understanding of several things related to the steam mop.
You may love to read : Best floor cleaner machine review
How Does a Steam Mop Work?
The Basic Concept
First, you must learn how the thing works in order to understand the methods of using it on different surfaces. Because the functionality of the steam mop will tell a lot about whether it will be compatible with a certain area; because you know, steam-mopping isn’t going to work on every single object.
As it says in the name, steam mop operates by using steam to clean all the stains. It’s sort of like regular mops, just steam instead of detergents. And this is where everything gets sorted, the compatibility.
Heat is what gets all the things disinfected in steam-mop, and not all stuff can withstand the temperature. The heat from the steam causes damage and tear in lots of materials. Besides, steam can’t remove stains from everywhere either.
So, in order to get the desired result, you’ll have to make the best use of its ability. Only use the mop on locations where things won’t get damaged when exposed to heat and it will actually be able to remove the stain.
This knowledge, along with the proper steps will definitely lead you to a successful cleaning of the house.
The Mechanism
There’s a little tank attached to the mop which is meant for reserving water while on duty. The water is heated up in order to produce steam.
The mop comes with a microfiber pad and jet of dry steam. The jet lets the steam out, which then proceeds to soak the pad. All the water of the steam makes the pad wet and that attire of it is what works to trap particles of debris, dirt and filth.
The soaking nature is the main reason why the mop doesn’t work everywhere and can’t clean all spots the same way.
Cleaning Ability
The main purpose of using a mop is to get the carpets and bare floors all cleaned up, and then come the other areas. Now, when we’re talking a regular mop, it’s really not that big of a deal. Why will it be? This is the thing that’s usually picked up for cleaning those places.
But keeping all the conditions mentioned above in mind, any conscious brain will surely have that question, whether investing on a steam mop will be beneficial for the same chores or not.
The answer is affirmative actually. Steam mops are in fact designed for such chores. Just the thing is, you can’t operate with it recklessly or in the usual manner. There are some steps that have to be maintained while working, and you have to use it in a different manner considering the nature of the surface; and you’ll be good to go.
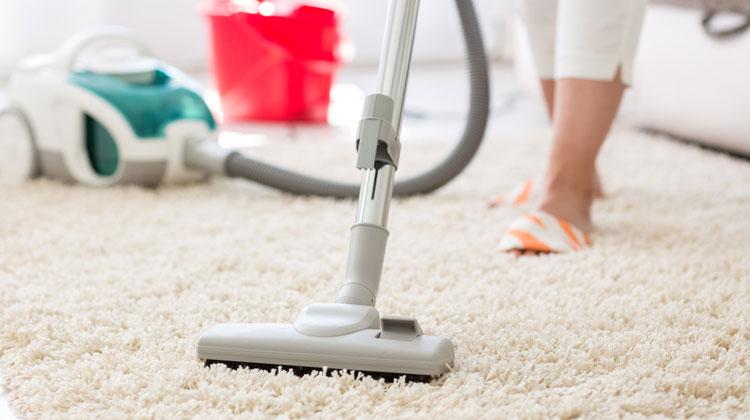
How to Use a Steam Mop on Carpet?
Getting the carpet wet is a questionable stunt to many of us when it comes to cleaning, and it sounds more challenging when a steam mop is involved. Yes, there are some consequences of making the carpet moist, but it shouldn’t be a major problem if you’re careful.
Using the steam mop the right way will definitely save you from trouble.
First Step: Plan out the Whole Cleaning Process
Now we’re talking carpet, a surface that’s made of fabric and can get creases on places, along with some rough scratch marks if not vacuumed the right way. So you must think the whole process out in your mind before pressing the start button on that machine.
It’ll be better if you start from the corner at the very end, and then systematically step back making sure every inch of the carpet is equally steamed. This is hundred times better than just zigzagging at a venture.
Second Step: Enable Fresh Air-flow
Access of fresh air is a must while cleaning and dusting, and it’s more important for steam-cleaning. Steam already makes the carpet moist while at it. For a short amount of time, it’s okay; but as the time goes by, the trapped moist becomes the sole reason for the carpet to get dirtier and unhygienic spores to spread around.
Nobody wants that, and the steam mop is used for the exact opposite reason. So, open all the windows to enable access of fresh air non-stop.
Third Step: Give a Primary Sweep
To make the whole process easier for the mop, do dust the place properly. Why dust it before when you’re going to use the steam mop for cleaning anyway? You see, there are lots of dirt, filth and debris trapped on the surface; but not all of them are meant for steam-vacuuming.
Lots of particles are large in size; steam mop can do nothing about them. And it cleans the place by trapping dirt onto moist; while some filth requires dry cleaning and dusting for most part.
So, in case you want a proper cleaning of your carpet, you better remove all the debris particles and dust it well beforehand.
Fourth Step: Free Up the Space
Yeah, it’s not just part of the trash that needs to be swept away before steam-cleaning, for the sake of everything starting from the objects and furniture present in the room to convenience of freely maneuvering the mop all over the carpet, move some major pieces of furniture from the site. In fact, steam might be good for getting rid of stains, but can be responsible for damaging objects as well.
Fifth Step: Prepare the Mop
We’re not talking regular mops; the steam-warrior has to get all armed up in order to start its cleaning operation. Fill the little tank with hot water. Now, although a cleaning solution is definitely not the star of the steam mop’s show, you do have to add some when it’s a carpet that needs cleaning.
The choice of cleaning product is up to you. However, select the item based on the stain you’re willing to remove; because some stains are so stubborn and sticky, a heavy shampoo wash becomes a necessity rather than a choice.
Now with hot water and cleaning supplies mixed inside the tank, the mop is all steamed up and ready to go.
Sixth Step: Start Steam-cleaning
Press the start button on the mop to release steam and begin maneuvering it all over the surface. The spots where the stain is major and stubborn, rub them more intensely while releasing shampoo or detergent-mixed water.
Seventh Step: Let It All Dry
Once you’re done steaming and washing, stop the mop and wait for the carpet to get all dried up. Carpet is a fabric medium and it takes a little time to get the surface dried and moist-free. But you have to do this, especially since it’s heavily washed using cleaning detergent or similar stuff.
All the scum, foam and water have to be rinsed, if you don’t want to damage the carpet or invite new stains.
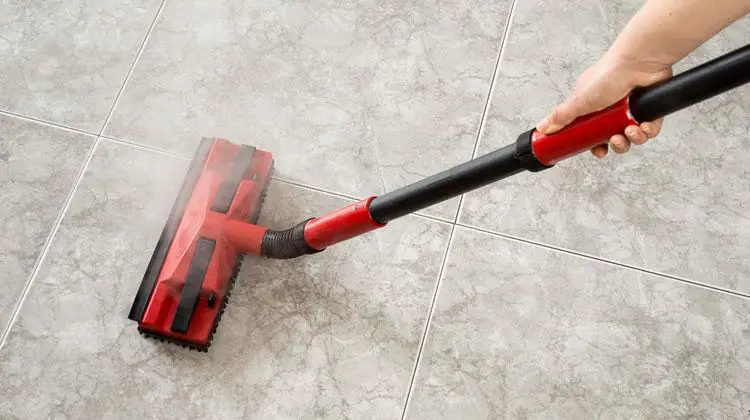
How to Use a Steam Mop on Tiles?
Using it on tiles is probably the easiest take on the steam mop. Steam works as a great medium to clean ceramic tiles and glass surfaces. So worrying about damages lead by the mop is out of the question here. Truth be spoken, to properly clean tiles, a steam mop is the best option. And it sometimes gives the best result without even needing the assistance of any cleaning solution or detergent.
However, every single thing has to be done in a particular way; and the same goes for using a steam mop on tiles too.
Step One: Dust It Beforehand
Steam mop won’t be able to pick up all sorts of debris, obviously. You have to remove the filth that has to be dry-cleaned before bringing out the mop in the open. Dust it and wipe the surface and creases to get rid of all the dirt that can’t be steam-vacuumed.
Step Two: Prepare the Mop
As you’re supposed to, fill the tank with hot water. However, don’t add any sort of liquid soap or detergent this time. It has been proven; the steam can clean tiles better on its own without the help of any cleaning agent.
Moreover, every material reacts a little differently in the contact of those said agents. The cleaning solutions usually used for floor cleaning do more bad than good to ceramic tiles. So, it’s always better to not rely on them even when you’re not using a steam mop, for the most part.
Attach the microfiber pad to the mop. The attaching technique can be different for different users depending on the mop’s structure. However, the mop is supposed to come with needed instruction for this in the form of a manual guide or label on the mop.
The pad helps the best in tiles-vacuuming. The steam helps to separate the layer of dirt and stain, and they get trapped onto the moist pad. While using it on a big surface, you must prepare to change and rinse the pad time to time, as it will get dirty a lot quicker and more often.
Step Three: Start Cleaning
Press the start button on the mop in order to begin cleaning. Adjust the steam pressure setting before starting by putting it to the level of high pressure. High pressure makes the steam more moist and condensed in order to remove stubborn stains and disinfect the surface.
After adjusting the setting, start maneuvering it all over the places. Make sure to reach every inch thoroughly. If needed, maneuver it over one spot several times to get the best out of the steam-cleaning.
Step Four: Let the Tiles Dry
Once vacuuming is over, stop the mop and leave the surface for drying. New stains can appear due to moist if not dried properly. So just wait a while after clean.
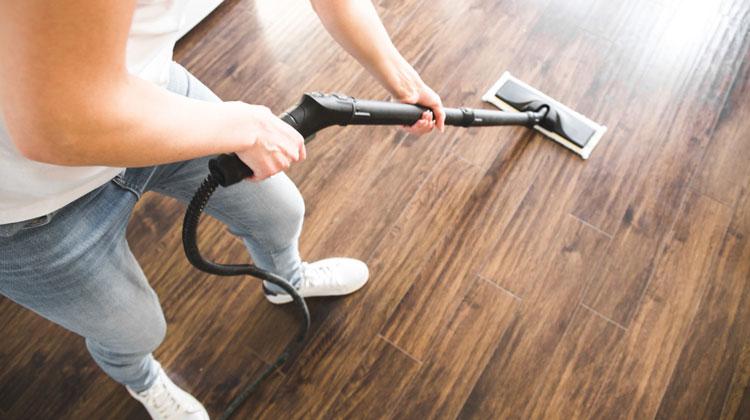
How to Use a Steam Mop on Hardwood Floor?
Releasing steam on hardwood? When you think about the situation from a general perspective, it sounds like a deadly combo that’s most likely to lead to some damage in the near future. However, this is not the case. The steam mop can indeed be used on the hardwood floor.
So what about all the things you’ve ever known about steam or moist damaging hardwood surfaces? Well, those aren’t a myth either. It’s just if you know how to use a steam mop correctly on hardwood floors, the aftermath doesn’t ever go that far.
Yes, do it the right way.
First Step: Do a Primary Cleaning
You already know the reason why. Not all sorts of dirt or debris can be eliminated through steam-vacuuming. Also, you don’t want unsuitable stuff to get trapped onto the pad. So dust and do a dry clean-up first.
Second Step: Prepare the Mop
After you’re done with dusting, it’s time to prepare the mop for cleaning. Fill the tank with hot water; add some detergent or cleaning shampoo if necessary. Attach the microfiber pad, so that it gets the best of the steam and the surface doesn’t get too moist.
Third Step: Start Cleaning
Press the start button and adjust the steam pressure setting. The pressure level should be on medium or low while using on hardwood floors. As the main goal is to not completely wet the surface with a whole lot of steam; when the pressure is on the medium or low level, the steam stays dry enough to not let that happen.
Now, start maneuvering the mop on every corner and all over the places to make sure the whole surface got the same amount of steam wash. If there’s a particular big stain that you really need to get rid of, maneuver it over the spot repeatedly several times until the stain is completely gone.
Fourth Step: Let the Surface Dry
Once you’re finished with steam-cleaning, turn the mop off and let the surface dry for a bit without walking or running over it. Dry steam makes sure that the surface is not excessively wet; but still, it has to be completely dry in order to avoid moist-related issues.
As we told already, steam mop works wonderfully on different types of surfaces. You just have to give it the right environment needed for so.
This is Autem Decker. Main Author of ‘TheHomeDigs‘. You may not find her on the list of top 10 contemporary Canadian interior designers, but everyone who knows her says she was born to be an interior designer.
She makes her plan in her head and draws them in her years-old diary with a note in the corner. The way she plays with color and shape amazes us.
Connect Her On – Twitter


