 Woods and glues are two norm things to work with for a woodworker. And the more you are interested in knowing about different types of woods and glues, the better you’ll be able to make projects shine. More knowledge is going to help you get lesser mistakes.
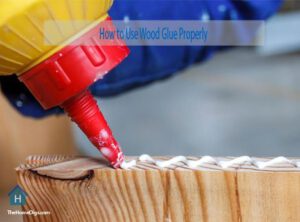
With the proper usage of strong glues, you can assure a project’s bond durability. And if that usage is seasoned by some amazing glue using tips, it’ll become a no-fail plan almost. Today let’s figure out how to use wood glue properly with some slick tips.
7 Wood Glue Application Tips to Join Wood or Furniture Repair That Works
When you are working with wood glues, it’s either gluing wood together for making something cool or fixing existing furniture. Below let’s talk about some fantastic tips that can save you a good amount of time plus effort.
Waterproof Glues Are Best for Carpentry Related Projects
If you are fixing or joining woods to work for a carpentry project, the best thing to do is using waterproof glue. Because most of the time, there’s a chance that due to outdoor usage these can heavily be damaged by water.
Here try to use a glue on wood that can stand up to water without any problem. The ones that come with both polyurethane and PVA formula will work best. These types are pretty good at withstanding weather conditions.
These also have the added support of bonding metal, glass and stone materials pretty well. You should be wearing gloves however as this stuff is going to be quite messy to use.
Avoid Pre-finishing on Areas Before Applying Glue
You can either directly go for the glue jar and apply it. Or let that wait for some moments while giving a nice finish to the parts. This can be a timesaving and better result providing idea to try for a nice quality finish that DIYers follow.
However, when you want to have a strong glue joint, skip the pre-finishing for later. There can be no finish on the joints that need gluing. Or else the glue won’t stick to stain or varnish properly.
The areas you are planning to apply glue on, simply use some masking tape there. You can later remove it for exposing a raw surface that is perfect for gluing. Use any type of high-quality masking tape here. In the case of using a water-based finish, no-bleed tapes give great results though.
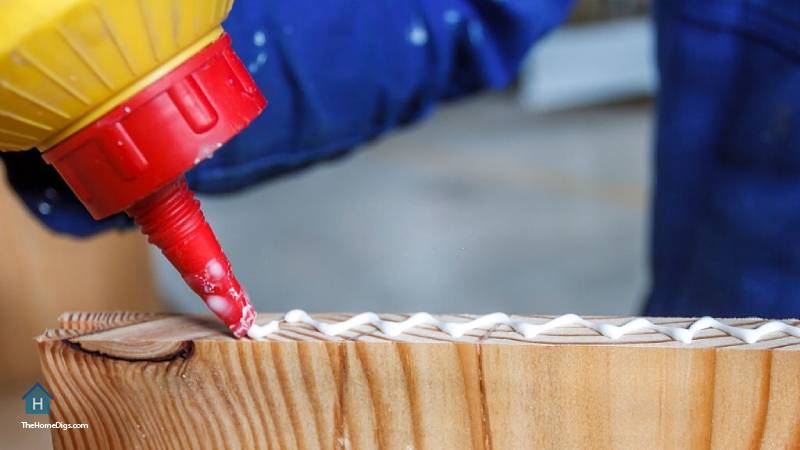
To Spread Better, Use Flux Brush or Notched Towel
To apply and spread glue better there are flux brushes available at hardware stores that work excellent. You will find these even useful for gluing intricate joints. These brushes are re-applicable after you store it wet in water for a few days and then wash thoroughly.
If you are dealing with a relatively large surface, then here’s a trick. Use a cheap notched plastic towel. These are fantastic at spreading the glue evenly. It’s available usually in flooring or tile section of a hardware store.
- How to Make Wood Glue at Home for Minor Fixes & Crafting
- How to Protect Wood Floors from Furniture Legs
- How to Use Wood Filler on Hardwood Floor

Avoid Gluing All Pieces at the Same Time
Trying to glue more than two boards together is definitely easier said than done. And there are plenty of wood gluing techniques that people follow to achieve a perfect aligned top surface by the end.
One simple tip that may solve this problem is going for one board at a time. Instead of clamping and gluing all the boards together at same time, you take turns for each piece.
You should allow somewhere between 20 to 30 minutes for every piece before moving to the next one. Definitely a time-consuming method, but you’ll find the top surfaces flush. It’s also going to feel easier for sanding and flattening the surface later on.
Use Superglue for Tiny Pieces
You may have a super glue inside your cabinet to use if a teacup or kitchen crockery cracks and breaks. This might be surprising for few but you can also use super glue for woods. To attach tiny trim pieces, you can surely try some CA glue also known as cyanoacrylate.
These pieces are pretty hard to clamp, so using a superglue will solve the issue in minutes. You will need three or four drops to stick such wood things together. To avoid running off and making a mess, you should try the CA glue’s gel formula.
In Case of Squeezed Out Glue
For an oopsie made with wood glue, there’s a huge debate on forums about the appropriate solution. Some say, its’ best to clean the glue squeeze-out immediately using a wet rag. While another group finds leaving it to dry completely and then scraping off more effective.
Waiting for half or one hour to let it dry and then scrapping off sounds better, to be honest. Just let the glue turn into a darker color or a gel form. Then you can use a sharp chisel to carefully shave it off.
This way there will be less mess and all the glue will get removed properly. However, you definitely still need to do some cleaning. But that’s going to be much lesser than cleaning the wet or extremely hard glue.
Using Glue with a Syringe Works Better at Repairing
In case you want to use wood glue for furniture repair, a syringe can really help for better application. Especially if you are trying to fix something as loose chair rungs. You want to wipe the chair rung after removing it. So that there’s no old glue or dust.
Then use a glue filled syringe and insert it right onto the opening. Once you are done applying glue use a new rung to fix here. In case you are not able to remove, simply insert syringe on the slot area that is holding rung to apply glue.
Wrap Up
And that’s basically how to use wood glue properly through these seven clever and effective tips. While using a wood glue, make sure you are cautious about it. If you have children and pets around, ensure they don’t get access to it. These are severely toxic and can be harmful if accidentally eaten.
Also, working on woodworking projects means entering a world that will every day have something new for you to learn. Give these tips a try the next time you work with wood glue. And hopefully, you’ll love the results, Good Luck!
This is Autem Decker. Main Author of ‘TheHomeDigs‘. You may not find her on the list of top 10 contemporary Canadian interior designers, but everyone who knows her says she was born to be an interior designer.
She makes her plan in her head and draws them in her years-old diary with a note in the corner. The way she plays with color and shape amazes us.
Connect Her On – Twitter