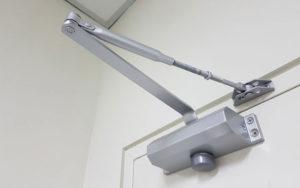
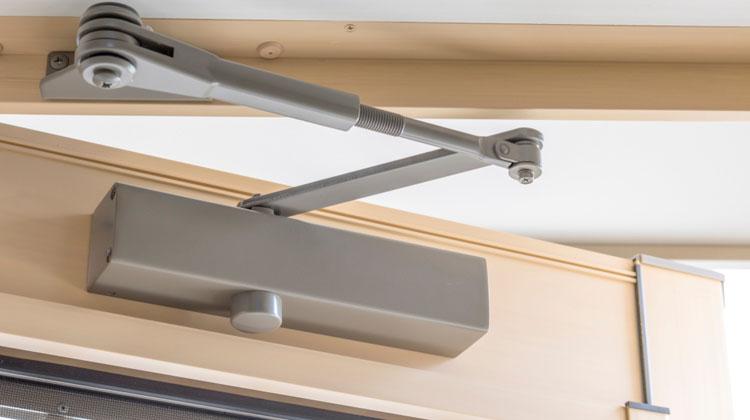
 A screen door closer is not a luxury, but a necessity.
We all know how expensive door frames are, and it’s a lot to take when you have to replace your door frame again and again.
However, that’s the thing bound to happen if your door doesn’t include a quality door closer to provide it with required support to shut gently.
The structure of the latch and the weight of the screen door makes it slam on the frame if there’s nothing strong enough near to stop it.
What about the old door closer?
Everything has a limit. And your door shutting brutally indicates that the old pal has indeed reached its limit. It’s time to bring something new that’ll actually serve for the purpose.
The door frame gets a little damaged every time the door slams on the frame, and that every ‘little’ damage results in something major after a while.
So, save yourself the cost of a new door frame by installing a new screen door closer instead. It’s cheap, it’s easy.
Yes, you don’t need to call a builder or a technician to install it for you. If you have the things needed for installation near your hand and you’re confident about your rule-following ability, steps mentioned below are enough to help you install a new screen door closer.
You may Also Like: How to install a Door Stoper
Steps by Step Guide for Screen Door Closer Installation
Things You Will Need for Installation
Measuring Tape or Scale: Accurate measurement should be your primary concern if you’re willing to install something. Measuring tape or scale will help you to take measurements required for finding the suitable closer.
Pencil: Sometimes you’ll have to mark some places and take a few notes. That’s when the pencil will come handy.
Screwdriver: You’ll need a screwdriver to detach the old closer, open the latch and install the new closer.
Spare Parts and Screws: Although, the number of things won’t vary since you’ll purchase everything matching your old closer; still carry some spare screws and parts with you, in case you need to use them somewhere in the process.
First Step: Take Measurements for The New Door Closer
Measurement is a thing that you can’t take lightly when it comes to installing or mounting something.
One wrong measurement can make the whole thing malfunction or fall apart; or worse, ruin other things associated with it. For this very reason, you got to be very careful with all the measurements.
Your old door closer is still affixed to the door, right? It’ll come handy for taking right measurements. Now, you can’t keep your door wide open with a door closer attached to it. So, first make sure to keep your door wide open by leaning something against it.
Take a stiff hard object and lean it against the door after opening it wide open. This way the door won’t be able to close own its own. And this will also give you a full enclosure of the door closer, which will help you to have accurate measurements.
Take a measuring tape or scale to assess the length and the width of the closer’s all edges. Also, don’t forget about the screws and their locations. One error in screw placement can ruin the whole installation process for you.
So, have a good solid look at those screws. Once you’re done measuring all the important bits and pieces, move the hard objective you used for propping and close the door.
Second Step: Go to A Hardware Store
Yes, the next thing to do after taking all the measurements is to go to the hardware store. Now, we don’t have any specific suggestion or name for that, you’ll find a good door closer anywhere if you search properly. Detecting the quality is totally up to you.
The measurements you took earlier will come handy now to find the right door closer and associated screws. Test the closer properly while you’re still at the store, you don’t want to bring home something flawed, do you?
Third Step: Get Rid of The Old Door Closer
Now, once you’re done with door closer shopping, it’s time for removing the old not-so-useful door closer attached to the door.
This step is probably the easiest step in the whole process. Just like you did at the time of taking measurements, again place something hard against the door to keep it wide open and get down to your work.
You have to reach both sides of the old door closer in order to remove it. To make the task easier, open up the latch so that you can reach both sides equally.
In the meantime, don’t forget to provide the door with some standing support while you’re on it.
Take the screwdriver and start removing all the screws with it. The closer will come out eventually once all the screws have been removed from both sides.

Fourth Step: Installation of The New Door Closer
After removing the old door closer, start working with the new one by the door’s jamb. Affixing jamb part first makes the installation quicker and easier, rather than going with the other side in the beginning.
Since you bought the new door closer according to the measurements taken earlier, all you’ll have to do now is just to carefully place it over the right points. Then again take the screwdriver and pin the jamb part lightly.
Pull the extra metal part out of the closer cylinder in order to place the other part of the closer on the top surface of the door and repeat the pinning process there as well.
In order to avoid malfunction, the closer needs to be placed accurately on the right marks, so move the door conveniently for its proper placement on each side. After that, tighten all the screws and you’re done with installation.
Now, close the latch and put the door at its rightful place.
Fifth Step: Test the Closer
After installing the closer, it’s necessary to check the door to see if you’ve done a proper job. Open the door and shut it gradually several times.
The closer movement will feel smooth and the door won’t slam on the frame if the closer is properly installed.
Done! You Did It
That’s how you install a screen door closer without a technician. It’s easier than you think, isn’t it? If you still face any difficulty, please let us know in the comment section below.
This is Autem Decker. Main Author of ‘TheHomeDigs‘. You may not find her on the list of top 10 contemporary Canadian interior designers, but everyone who knows her says she was born to be an interior designer.
She makes her plan in her head and draws them in her years-old diary with a note in the corner. The way she plays with color and shape amazes us.
Connect Her On – Twitter